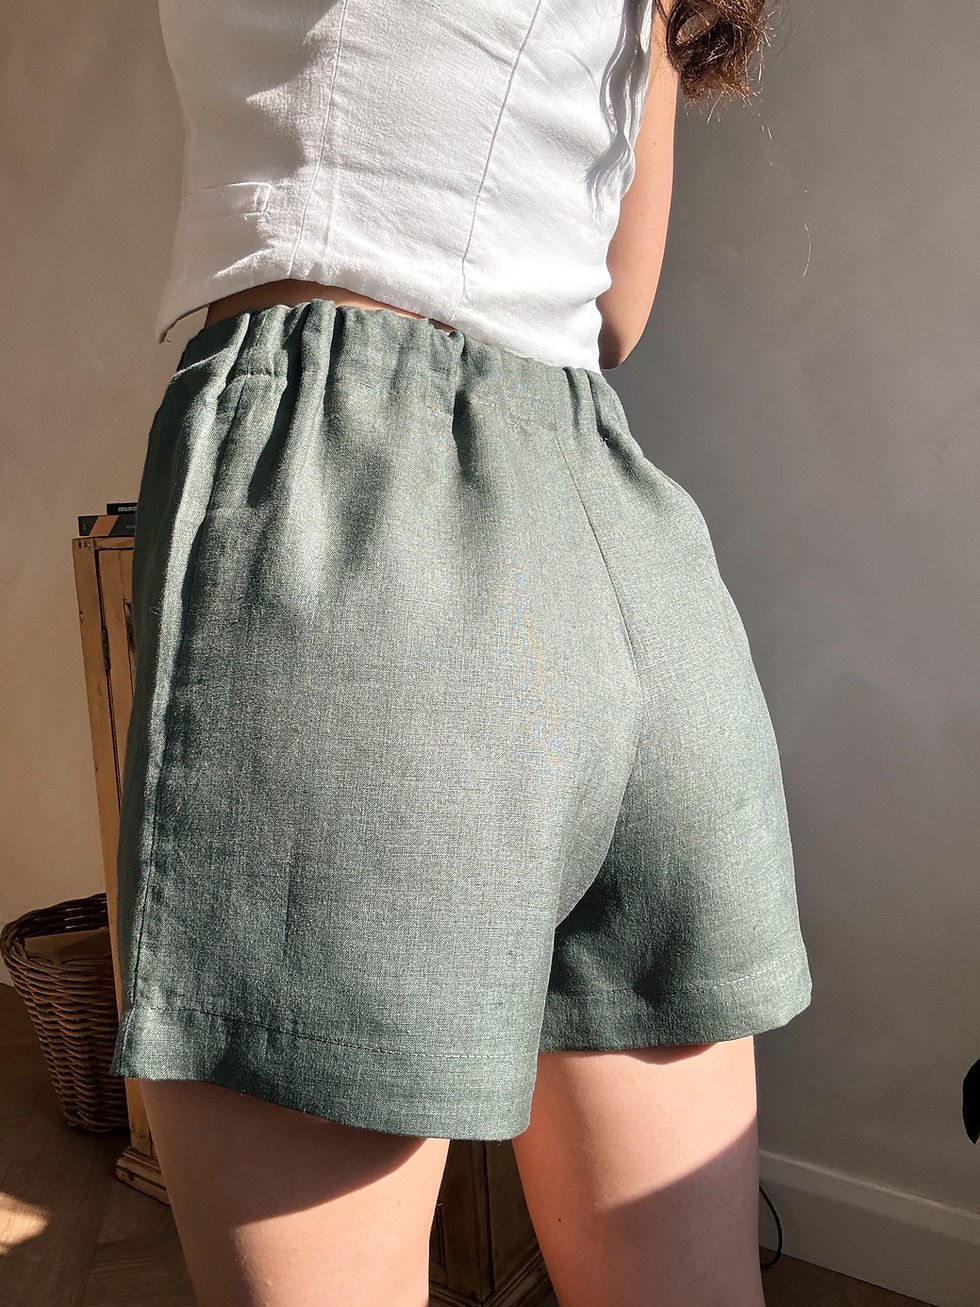
Everyday Shorts
- sewingwitholive
- Jun 1, 2025
- 3 min read
Updated: Aug 11, 2025
Step-by-Step Tutorial on How to Sew a pair of everyday shorts using some you already own - No pattern needed

Sew your summer staple in under an hour! These everyday shorts are comfy, versatile, and can be made in any lightweight woven fabric you love.
Dress them up with a cute cami or throw them on for a casual day at home - you’ll be reaching for them again and again.
Best of all, you don’t need a pattern to make them.
Follow the step-by-step instructions below to stitch up your perfect pair! 🌙
If you’re new to sewing, this project pairs perfectly with my Simple Sewing Guide.
Remember to tag me in your beautiful creations on Instagram @sewingwitholive - and if you'd like to see pictures for each step, you can check out the step-by-step photo tutorial here on Instagram.
YOU WILL NEED:
Woven fabric: 1m x 150cm (cotton, linen, or viscose work beautifully)
2.5cm wide elastic x your waist measurement
Matching thread
NOTES
The seam allowance is 1cm unless otherwise stated. For the hem and waistband, you’ll add 4cm. If you have a favourite pair of shorts, this project is all about recreating that go-to fit by tracing around them. It's easy, beginner-friendly, and totally customisable.
CREATING YOUR PATTERN
Step #1
Fold your existing shorts in half with the front sides together. Trace around the back panel first - follow the curve of the crotch area (since the back crotch is usually longer). Repeat the process for the front panel.
Use tracing paper like brown craft paper, or draw directly onto your fabric if you’re feeling confident.
Step #2
Add a 1cm seam allowance all the way around except the hem and waistband, where you'll add 4cm.
Step #3
Cut out your paper pattern pieces.
CUTTING & SEWING
Step #4
Pin your pattern pieces to your fabric (right sides together) and cut around each piece.
Step #5
Join one front and one back piece together at the side seam. Sew with a 1cm seam allowance, finish with a zigzag stitch or overlocker, and press seams open. Repeat for the other leg.
Step #6
Sew the inseam (inside leg seam) for each leg. Finish and press seams open.
Step #7
Turn one leg right side out and place it inside the other leg (right sides together, back-to-back). Match up the crotch seams, pin, sew, finish, and press open.
FINISHING THE HEM & WAISTBAND
Step #8
Fold and press the hem up by 1cm, then again by 3cm. Topstitch with a stitch length of 3.5.
Step #9
Fold and press the waistband down by 1cm, then again by 3cm. Topstitch around the waistband, leaving a 2cm gap for inserting the elastic.
Step #10
Cut your elastic to your waist measurement (slightly stretched for comfort). Thread it through the waistband using a safety pin. Once fully inserted, overlap and sew the elastic ends together with a zigzag stitch. Close the gap in the waistband.
And you're done!
Take a look at my Everyday Linen Shorts
These are the kind of shorts you’ll want to make again and again. Check out the everyday shorts tutorial reel on Instagram here or, if you’d like a beginner-friendly ready-to-print pattern with step-by-step illustrated instructions, you can grab the Lina Shorts Digital Sewing Pattern here.
and don’t forget to share your makes with me @sewingwitholive 💛


Comments