Sew a Shirred Waist Top
- sewingwitholive
- Jun 29, 2025
- 4 min read
Step -by -Step Tutorial: How to Sew a Shirred Waist Top Using Your Own Measurements - No Pattern Needed

Sew your dream summer top - no pattern needed This shirred top is simple, flattering, and beginner-friendly. It’s made from just a rectangle of fabric and a bit of elastic thread.
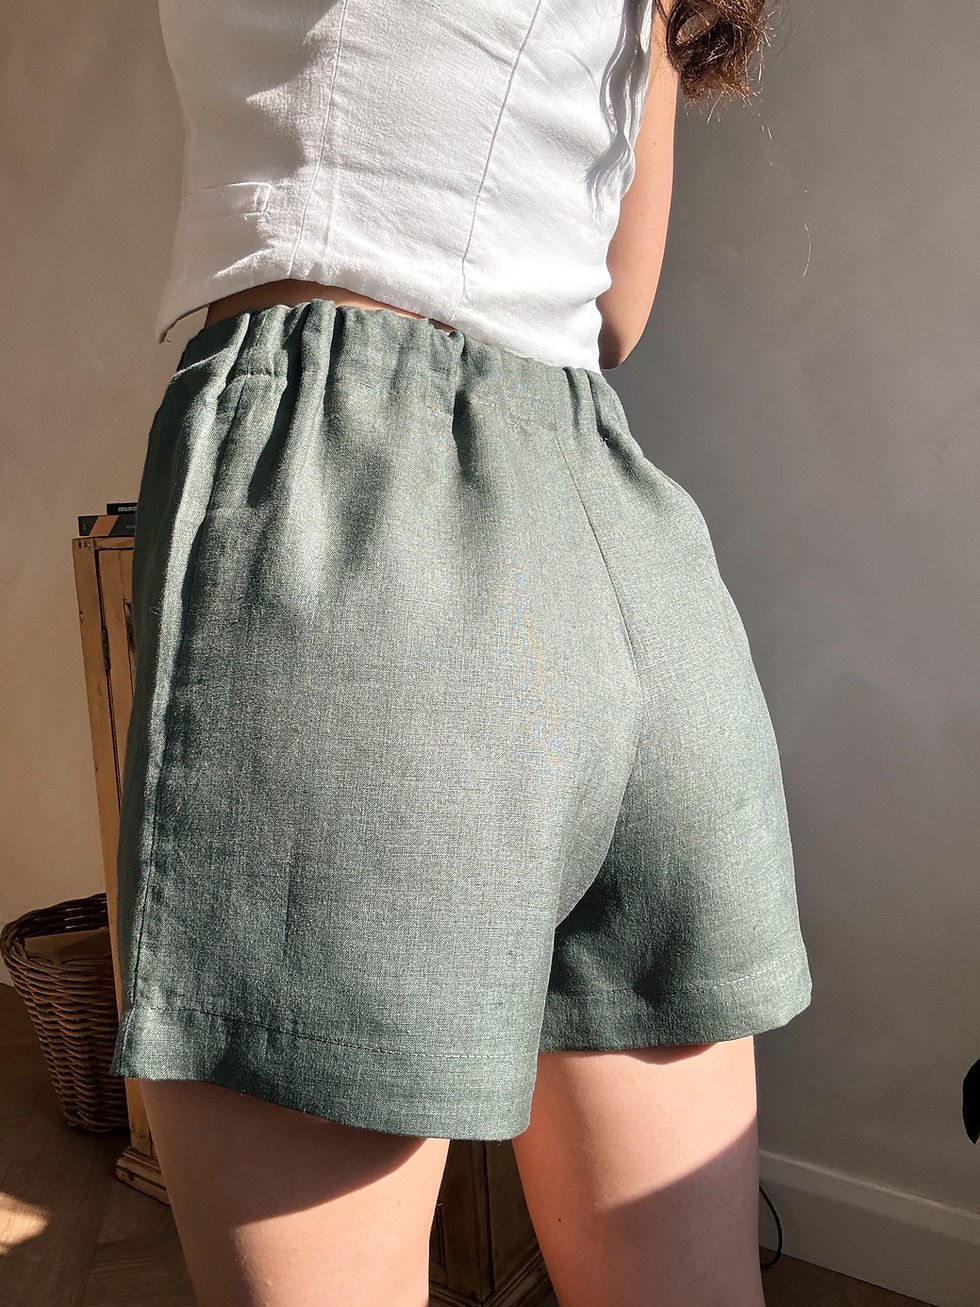
Pair it with your favourite skirt or shorts, layer it under a shirt, or wear it on its own for an effortless, handmade look.
No pattern required. No fuss. Just fabric, elastic, and your sewing machine.
Follow the step-by-step instructions below to sew your own shirred top! ✨
This is a perfect project to pair with my Simple Sewing Guide.
Remember to tag me in your beautiful creations on Instagram @sewingwitholive - and if you'd like to see a full video tutorial, you can check out the sew along tutorial here on YouTube.
YOU WILL NEED:
Woven fabric: Lightweight cotton, linen, or viscose (Width: 115 - 150cm depending on your bust size – see Notes)
Elastic thread (for the bobbin)
Matching regular thread (for the top thread)
NOTES
The seam allowance is 1.5cm throughout.
To work out how much fabric you’ll need: Measure around the fullest part of your bust and multiply it by 1.5.This is the width of your rectangle.The height is up to you - around 35 - 45cm works well for most sizes, depending on how cropped you want it.
TAKE YOUR MEASUREMENTS
Step #1
You’ll need:
Waist measurement
Length from collarbone to waist (or desired hem point)
Example:
Waist = 69 cm
69 × 1.5 = 103.5 cm
3cm seam allowance (1.5cm each side)
103.5 ÷ 2 + 3 = 54.7 cm → this is the width of one panel
Length:
Collarbone to waist = 36 cm
4 cm seam allowance (2 cm hem top + 2 cm bottom)
5 cm ease (extra room near armhole)= 45 cm total length
CUTTING OUT
Step #2
Cut 2 rectangles of fabric using your calculated dimensions. For example: 54.7 cm wide × 45 cm long (x2)
TIP: Fold your fabric in half (right sides together) and cut both panels at once. Pin to secure before cutting.
Step #3
Hem the Top + Bottom First
Why first? Shearing after hemming gives a cleaner finish and avoids stretching.
Turn top edge under 1 cm, press.
Turn again another 1 cm, press.
Repeat on bottom edge.
Sew with straight stitch (length 3), backstitching at start and end.
Repeat for both panels.
Step #4
Finish Side Edges: Use an overlocker or zigzag stitch on the side seams of both panels.
Step #5
Wind Your Shearing Bobbin
Thread elastic into an empty bobbin by hand - don’t stretch it.
Wind evenly, not tight.
Leave a long tail when trimming.
Step #6
Set Up Machine for Shearing
Top thread: regular polyester
Bobbin: elastic thread (ensure it turns anti-clockwise)
Stitch: Straight stitch
Stitch length: 4
Tension: Leave as normal
Test on a scrap piece of the same fabric first.
Step #7
Shirr the Front Panel
Start at the hem. Use your hem stitch as a guide for the first row.
Stitch with elastic bobbin, straight lines across the width.
Use edge of presser foot as a guide to keep spacing even.
Continue rows until shearing reaches just below your bust.
Tip: Don’t backstitch at start/end - leave long tails and tie off later.
Step #8
Shear the Back Panel
Repeat the same shearing process as the front:
Start at the hem and work your way up.
Keep lines straight and evenly spaced.
Stop at the same height as your front panel (just below bust).
Leave long thread tails to tie off instead of backstitching.
💡 Optional: Iron over the shearing after sewing to help it shrink up neatly.
Step #9
Sew the Side Seams
Place front and back panels right sides together.
Pin side seams, aligning the hem and top edge.
Sew side seams using a 1 cm seam allowance.
Finish with an overlocker or zigzag stitch to prevent fraying.
Press seams open or to the back.
Step #10
Join the Top Corners
Place the front and back panels right sides together.
Pin the top corners together on both sides - this forms the underarm shaping.
Step #11
Mark the Diagonal Seam
On each side:
From the top edge, measure 5 cm down along the side seam - mark it.
From the top edge, measure 5 cm inward along the top - mark it.
Use a ruler to connect the two marks with a straight diagonal line.
Repeat on the opposite side.
Step #12
Sew along both diagonal lines using a straight stitch.
Backstitch at the start and end for strength.
Stitch length: 2.5 mm.
Step #13
Trim + Finish the Seams
Carefully trim away excess fabric, leaving a 1 cm seam allowance.
Avoid cutting into your stitch line.
Finish raw edges using an overlocker or zigzag stitch.
Step #14
Turn + Press
Turn the top right side out.
Press the top edge and diagonal seams flat.
Press the hem again for a crisp finish.
You’ve just made a beautiful shirred top from scratch - no pattern required. Perfect for summer layering or pairing with your handmade shorts or wrap skirt. Don’t forget to share your makes with me @sewingwitholive 💛


Comments